We just completed the January release of EchoSign and with that introduced a new version of the EchoSign REST API v3. I wanted to take a moment to talk about some of the great new features, end-points and resources that we added in this latest release
 1. The first and the coolest thing is support for OAuth from within the context of our API documentation. Earlier, you had to make a call to a tokens end-point with your application credentials and user credentials to issue an access token and then copy paste it to "Try" the API. Now you can achieve all that with the click of a single button and that too with OAuth which is the recommended authorization mechanism for using the EchoSign REST API. Each end-point requires different OAuth Scopes and clicking on the OAuth Access Token button (towards the right of the end-point ) pops up a dialog and allows you to specify the precise scopes you want the access token to be issued with. Clicking Authorize takes you through the usual OAuth workflow and the generated access-token is automatically copied to the header field
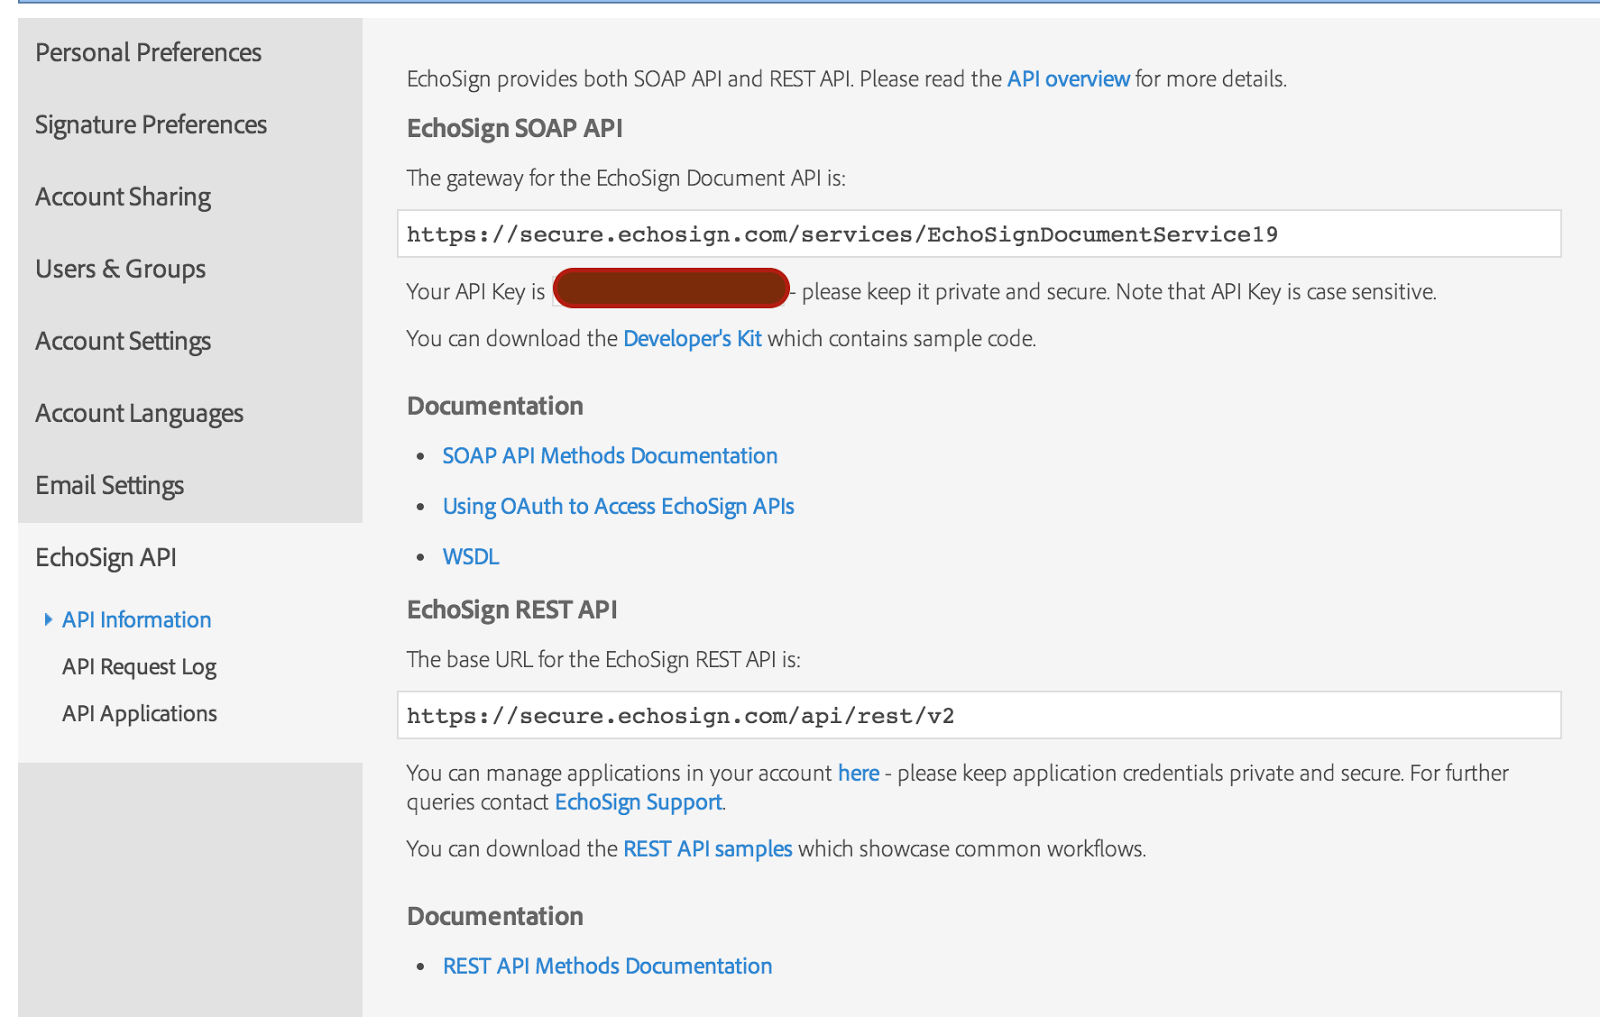
 2. Next, we added the concept of base_uris which is the first call that you should make to get the access-points for using our APIs. As we work on extending our APIs, this allows you to get abstracted base url(s) to the different end-points and also allows us the flexibility to optimise access to the resources. As of this writing, https://api.echosign.com is the base api_access_point but you should start calling this API rather than hard-coding it
 3. A frequently requested feature has been to get the Url to the EchoSign compose page through the API with the various fields like recipients, document metadata populated and the file itself uploaded. Till v2, our REST API only supported gettin the authoring URL. Now, with the latest REST API v3, you can specify sendThroughWeb to be true and appropriate customisations in sendThroughWebOptions to get a custom URL to the compose page for creating your agreement. All the parameters that you specify in the /agreements, POST end-point would automatically get populated in the compose page when the returned URL is opened. We have also enhanced our SOAP APIs to support this functionality
4. Next in line is brand new Views and Search end-points. The end-points on the Views resource allow you to create embeddable views to various EchoSign pages like the Manage Page, view agreement page and user and account settings pages that you can host in your own custom solution. The search end-points allow you to search for events for agreement assets i.e agreements, widgets and library documents. A key feature of the search end-point is that it introduces the concept of pagination in our APIs. The result from the /search, POST call in addition to the first page of results (custom page sizes are supported) returns a cursor to the next page which you can query to get the next page of results and subsequent next page cursor

So, what's the wait for? Click here and get started with the EchoSign REST API v3!
1. The first and the coolest thing is support for OAuth from within the context of our API documentation. Earlier, you had to make a call to a tokens end-point with your application credentials and user credentials to issue an access token and then copy paste it to "Try" the API. Now you can achieve all that with the click of a single button and that too with OAuth which is the recommended authorization mechanism for using the EchoSign REST API. Each end-point requires different OAuth Scopes and clicking on the OAuth Access Token button (towards the right of the end-point ) pops up a dialog and allows you to specify the precise scopes you want the access token to be issued with. Clicking Authorize takes you through the usual OAuth workflow and the generated access-token is automatically copied to the header field3. A frequently requested feature has been to get the Url to the EchoSign compose page through the API with the various fields like recipients, document metadata populated and the file itself uploaded. Till v2, our REST API only supported gettin the authoring URL. Now, with the latest REST API v3, you can specify sendThroughWeb to be true and appropriate customisations in sendThroughWebOptions to get a custom URL to the compose page for creating your agreement. All the parameters that you specify in the /agreements, POST end-point would automatically get populated in the compose page when the returned URL is opened. We have also enhanced our SOAP APIs to support this functionalitySo, what's the wait for? Click here and get started with the EchoSign REST API v3!